From installation to task scheduler - step by step instruction
This will walk you through installing and running the MSH Delete Files Older Than application on a schedule.
Files for testing
Instruction will demonstrate removing files prepared for this scenario, so please create a test directory on C partition.
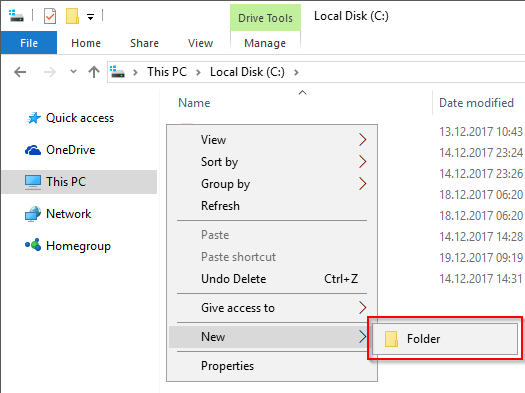
Put test name while creating new directory.
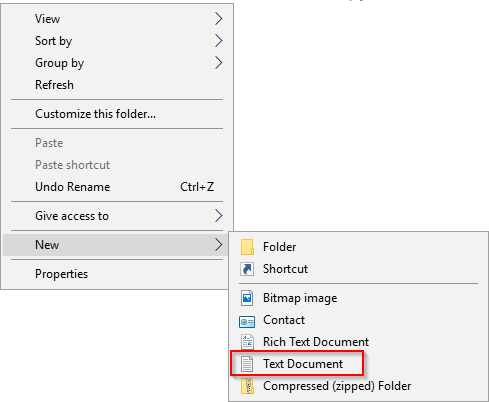
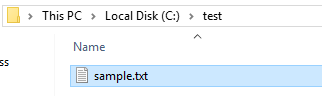
Next create a sample.txt file in C:\test directory.
Installation
Download the application from MSH Tools website. Next go to download directory and run Setup.MSHSoftware.DeleteFilesOlderThan.exe file.
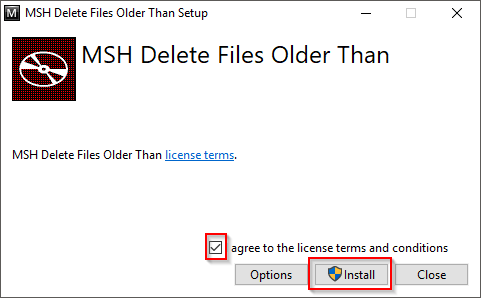
Select I agree to the license terms and conditions option, click Install button.
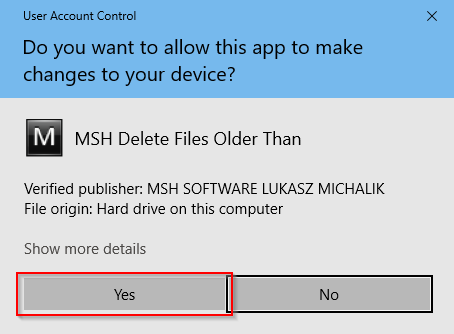
Click Yes to agree to install the application (if the User Account Control window appears).
Wait until the application installs successfully, then click Launch.

Licensing
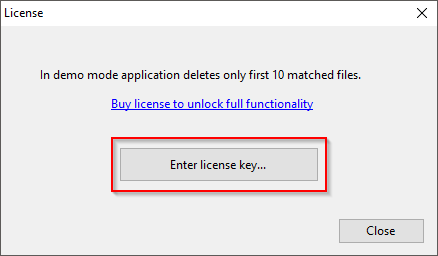
If you don’t have a license key yet skip this step. Application can work in demo mode but will remove only 10 first matched files and will not delete any files from Command Line.
Click Application works in DEMO mode link.

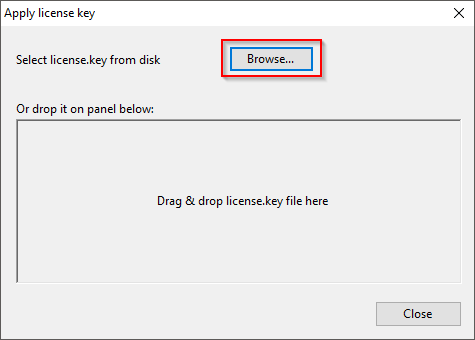
Click Enter license key button.
Click Browse button.
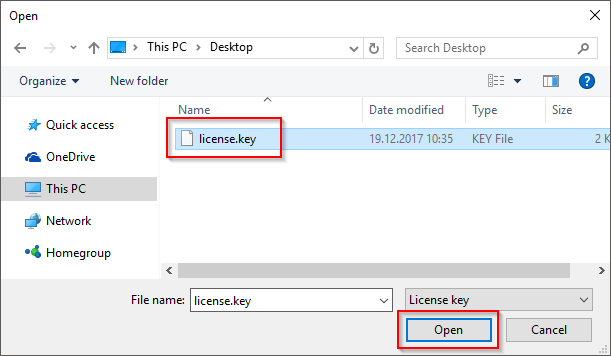
Select license.key file (you should receive it from MSH Software). Click Open button.
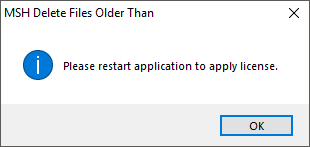
Application will inform that restart is required.
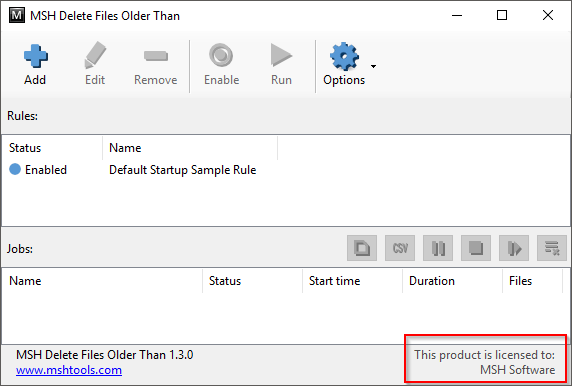
On the next application run, you will see that the application is licensed to your registration name.
Create a test Rule
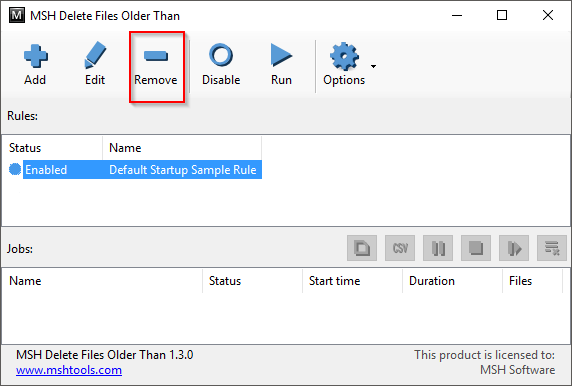
Select Default Startup Sample Rule and click Remove button.
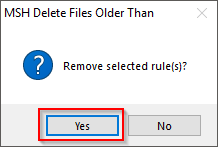
Click Yes button.
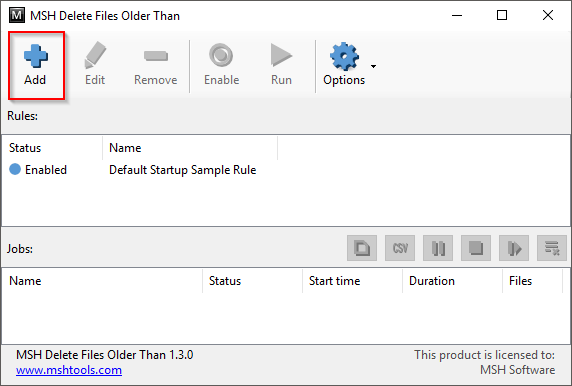
To create a new rule click Add button.
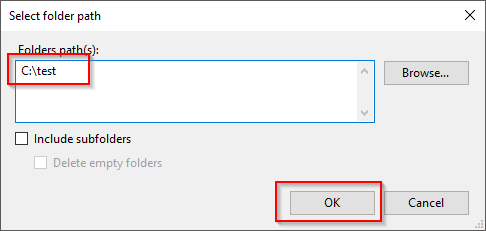
On Folders tab click Add button to select folder.
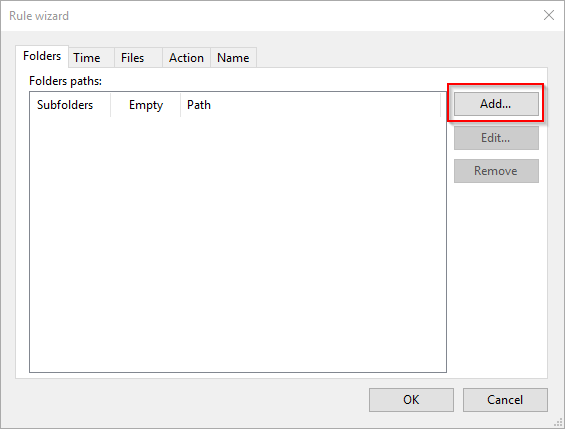
Put C:\test value in Folders Path then click OK button.
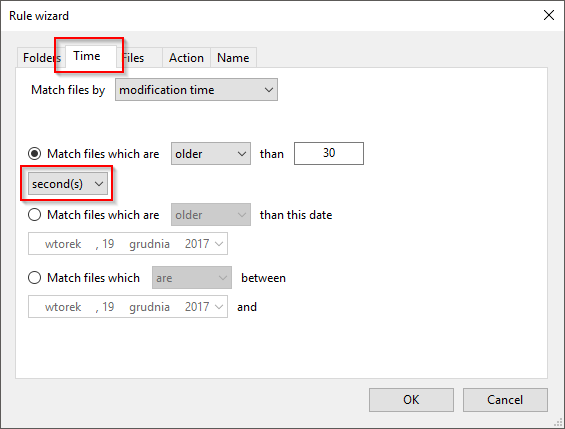
Switch to Time tab and change Match files which are older than 30 from days to seconds.
Seconds are used only for our test scenario, for your files you should use better option.
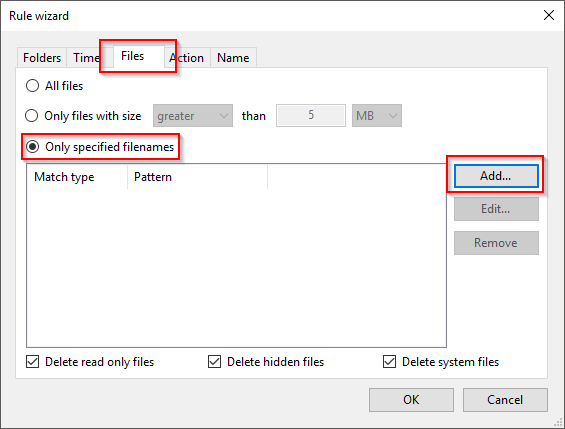
Switch to Files tab and select Only specified filenames option then click Add button.
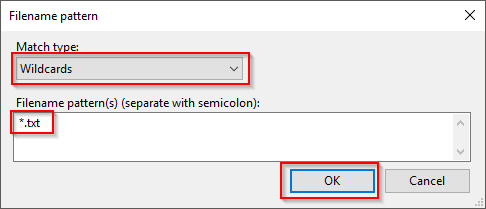
Select Wildcards option and put *.txt value in Filename Pattern then click OK button.
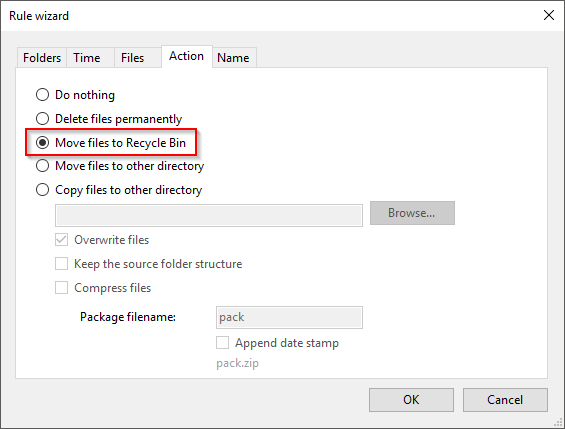
Switch to Action tab and select Move files to Recycle Bin.
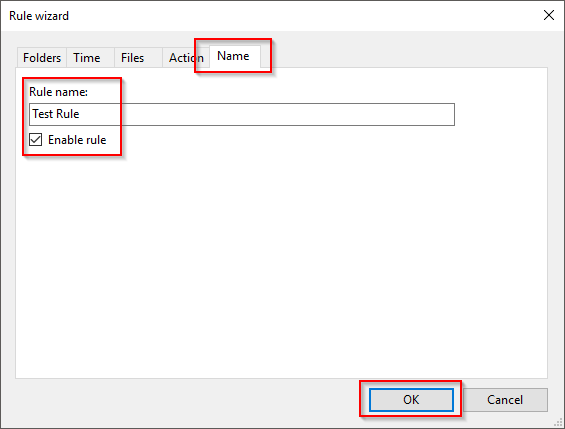
Switch to Name tab and put Test Rule in Rule Name field, select Enable Rule option then click OK button
Run the Rule from GUI
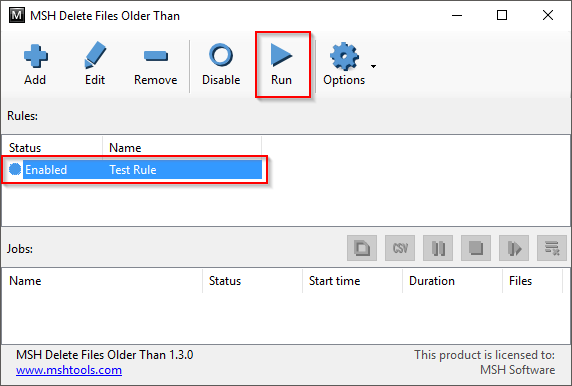
Select Test Rule and click Run button.
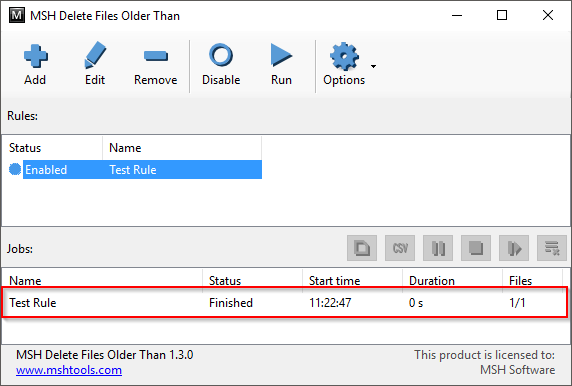
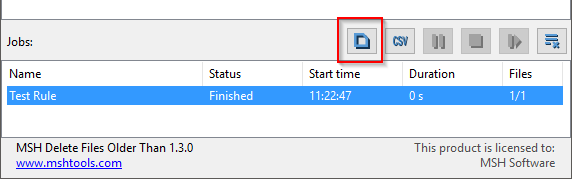
After the rule finishes, a new entry will be created in the Jobs section.
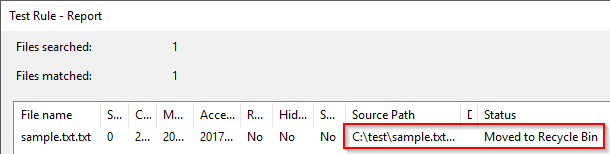
This is a report from the finished job. Select the finished job entry and click Show Report.
There will be an entry for sample.txt showing it was Moved to Recycle Bin.
Run the Rule from Command Line
To run rules from the Command Line, the application must be licensed, because in demo mode no files will be removed.
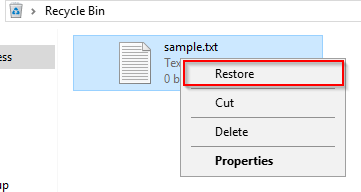
Before we begin go to Recycle Bin and restore previously removed sample.txt file.
Export Rules
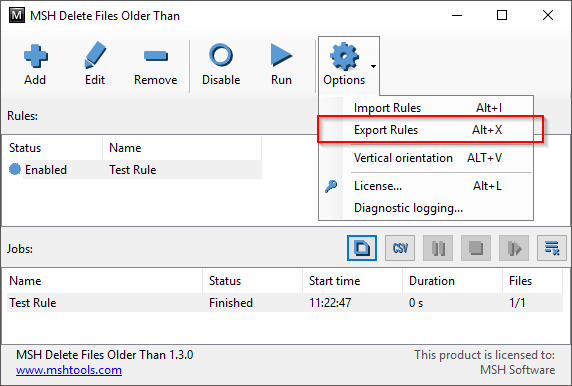
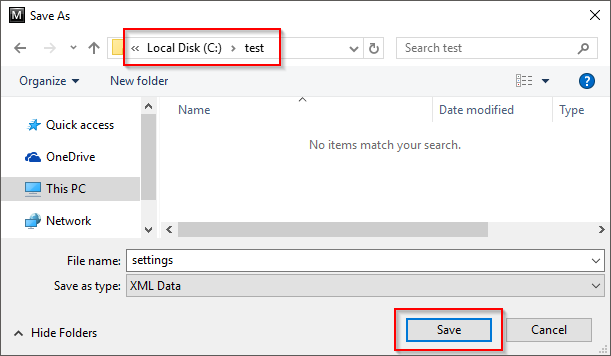
Before running the application from the Command Line, rules must be exported to an external settings.xml file. Click Options button and then click Export Rules menu.
Go to C:\test directory and click Save button.
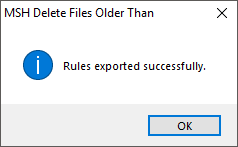
Click OK button.
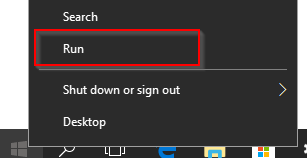
Close the application and open the Command Line. Right-click the Start Menu and select Run (or use the Win+R shortcut).
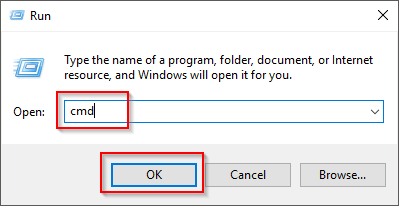
Type cmd in the Open field and click OK.
To run the application with the previously exported rules, enter the following command and press Enter.
"c:\Program Files (x86)\MSH Delete Files Older Than\MSHSoftware.DeleteFilesOlderThan.exe" -f c:\test\settings.xml -o c:\test
The -o c:\test parameter tells the application to create a CSV job report (which can be used later to check what was removed).
The application should run without any output in the Command Line. Go to C:\test and you will see that a Test Rule-xxxx-xxxx.csv file was created.
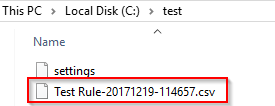
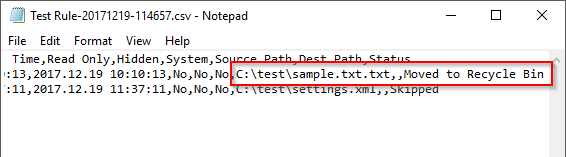
You can open this file, e.g., with Notepad, to see what was done with the sample.txt file.
Run the Rule from Task Scheduler
If you already ran the application from the Command Line, go to the Recycle Bin and restore the
sample.txtfile.
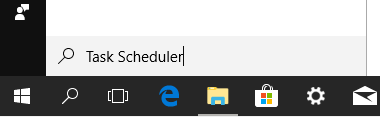
Run Task Scheduler via Windows Search or by running taskschd.msc from the Command Line.
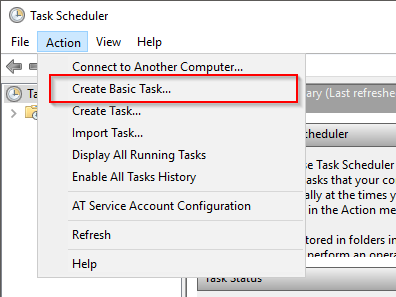
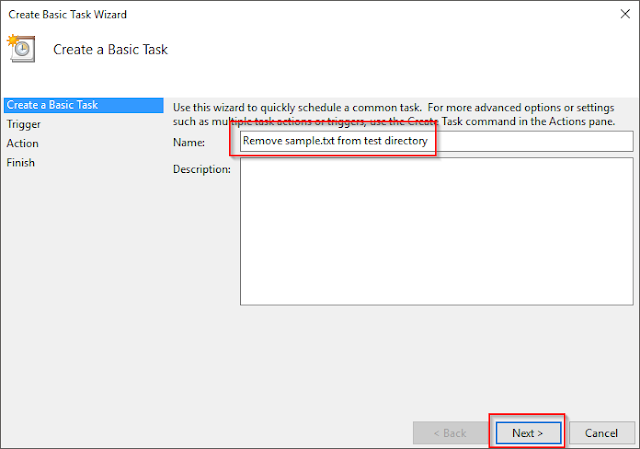
Click the Action menu and select Create Basic Task.
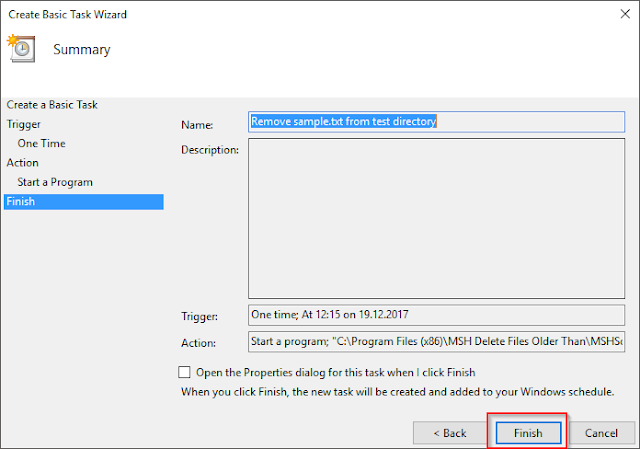
Enter “Remove sample.txt from test directory” in the Name field and click Next.
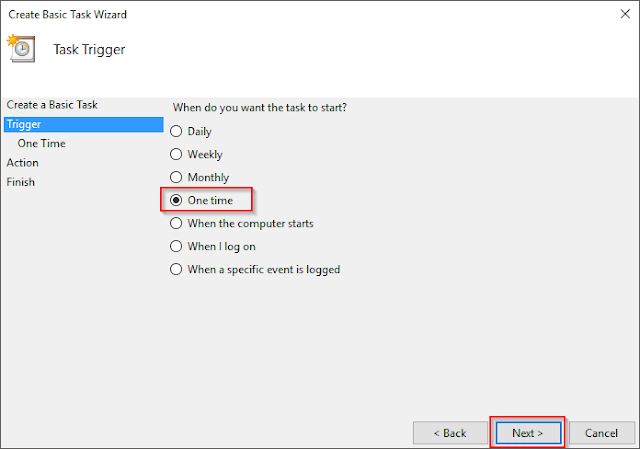
Select when to start removing files. For this example, select One time and click Next.
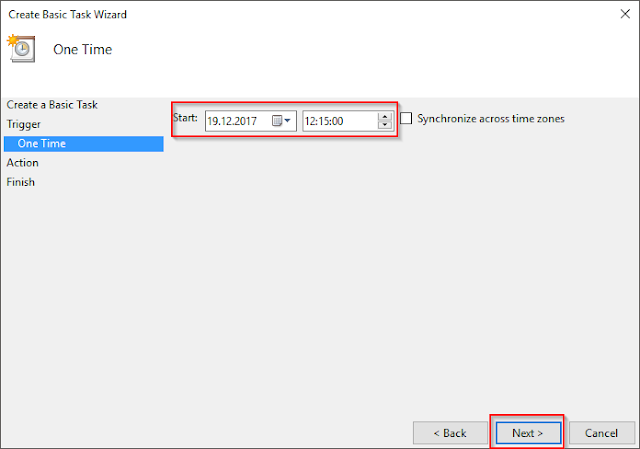
Set the date and time 5 minutes ahead and click Next.
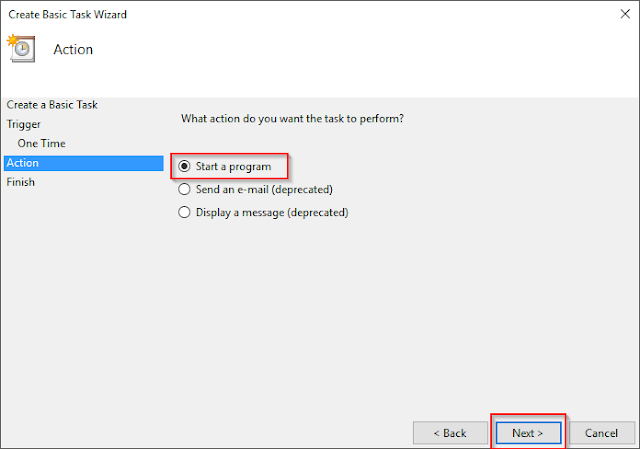
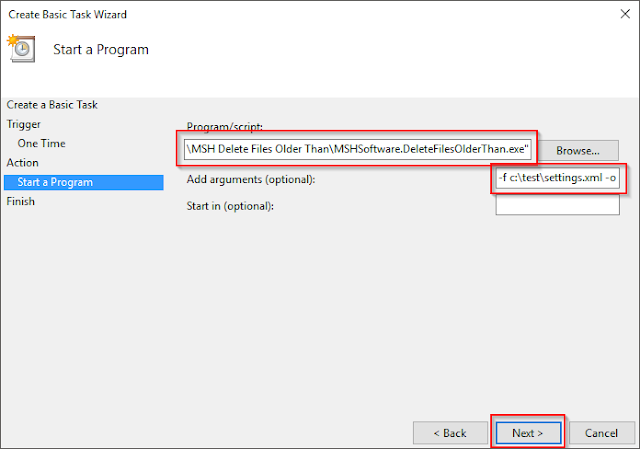
Select Start a program option and click Next button.
Put
"C:\Program Files (x86)\MSH Delete Files Older Than\MSHSoftware.DeleteFilesOlderThan.exe"
in the Program/script field, or click Browse to select it. Put
-f c:\test\settings.xml -o c:\test
in the Add arguments field. Click Next.
Click Finish on the final screen.
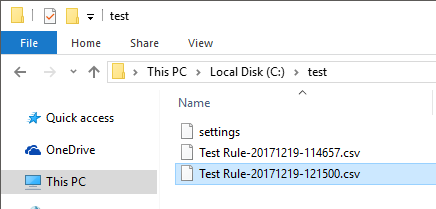
Wait until the task runs, then go to C:\test to check for two CSV files, confirming that Task Scheduler ran the application rules.
To learn more visit MSH Delete Files Older Than website.