4. Working with Autoresponder Rules
To create an automatic response click the Add button located on the left in the main program’s window. This brings up the rule wizard, where you can configure conditions and exceptions of auto response triggering, create the message itself, set the time range of its operation etc.
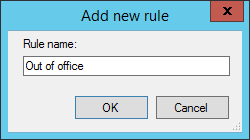
First enter the name of your rule in the Rule name window and hit the OK button.
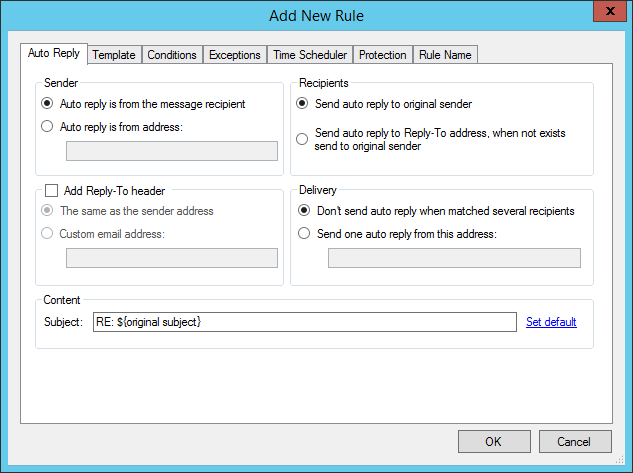
In the next window, in the Auto Reply you can choose between several auto reply options, like: Sender, Recipients, Headers, Delivery type or Subject content.
For now leave defaults.
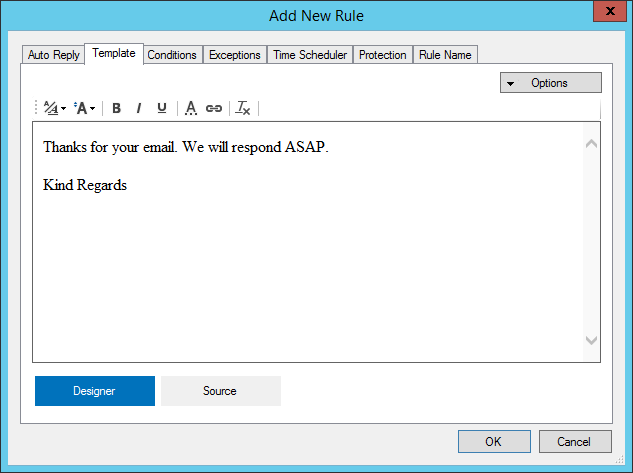
In the Template tab enter the contents of the email. You can copy the message directly from other editor as the program supports HTML code.
Alternatively you can enter and format the text directly in the window since it provides standard controls, such as the font face, size and color selection, hyperlink inserting and more.
In the Conditions tab select what message properties trigger the automatic reply action. Click the Add button to insert a condition.
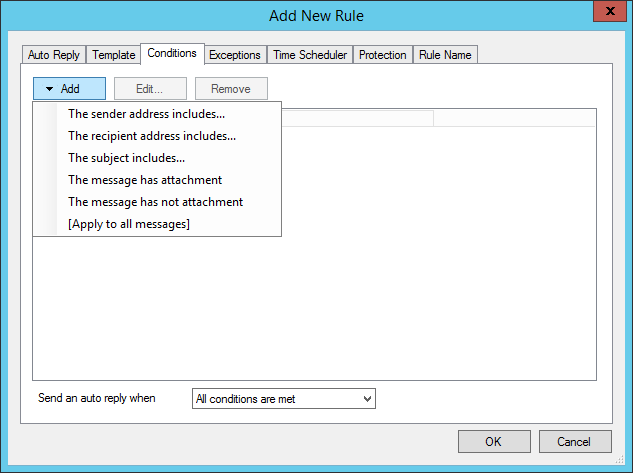
There are several options available. Select The recipient address includes.
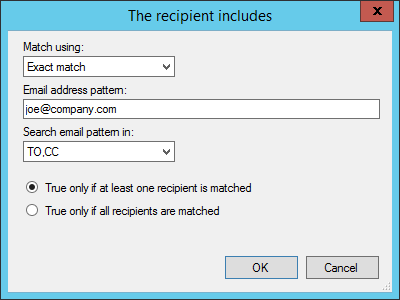
The reply is sent when the message is delivered to the specific recipient.
All of above conditions support usage of wildcards or regular expressions. If more than one condition is defined you can decide if the message must meet all or just one of them to send the reply with the Send an autoreply when option visible at the bottom of the wizard window.

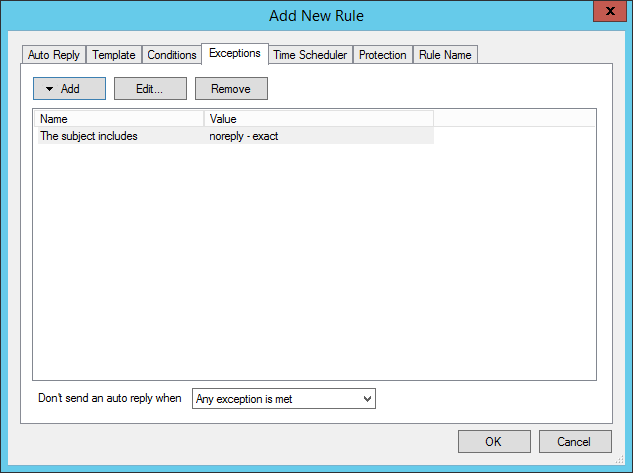
The Exceptions tab is a copy of the Conditions tab except it provides an option to exclude specific messages from processing. E.g. you can define a keyword in the subject to suppress sending the autoreply, or a specific email address that should not receive it.
To set up activity time frames of the rule click the Time Scheduler tab. It is useful when you want to notify the sender that your office is closed between specific hours, during weekends or holidays.
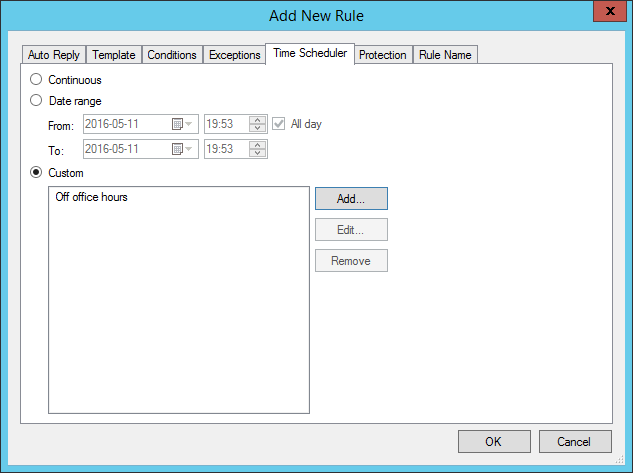
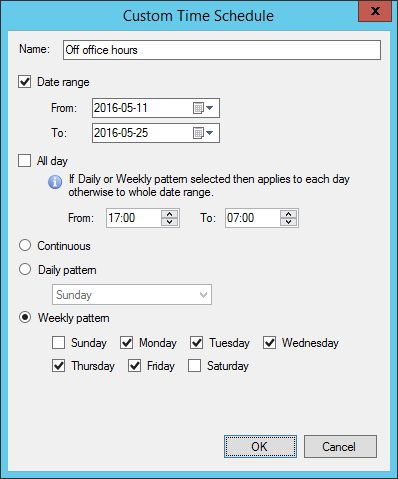
For more detailed time range setup click the Custom radio button and then click the Add button to create your own time range.
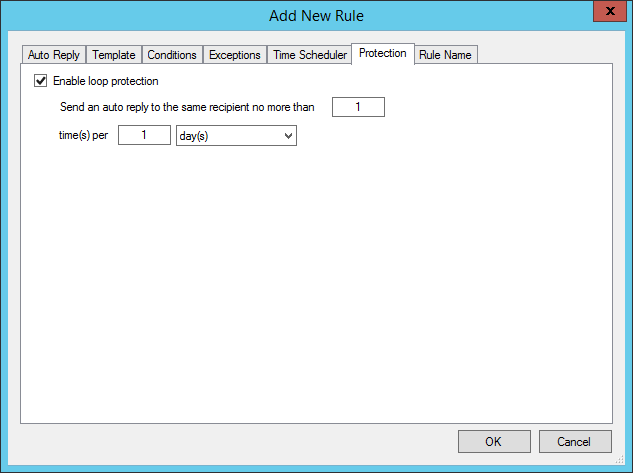
The Protection tab provides a feature that prevents your server from engaging in a loop sending an autoreply. This might happen when the automatic response is sent to the recipient that also automatically replies. The option is enabled by default to prevent sending messages back and forth between servers indefinitely. You can change the number of autoreplies sent to the same email address (one by default) and when the counter resets (everyday by default).
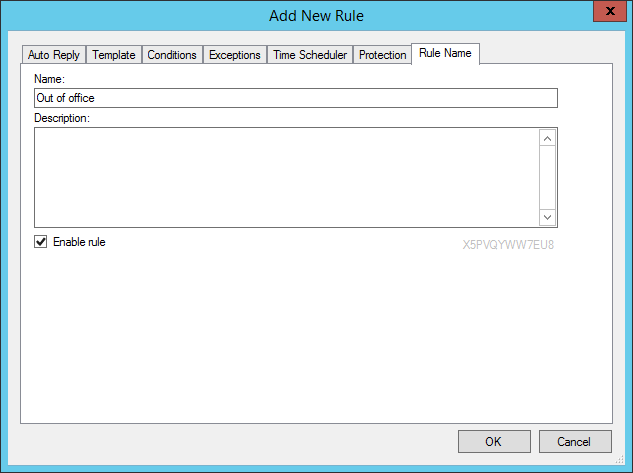
Finally you can edit the name and description of your rule in the Rule name tab and decide whether it is enabled after saving it with the OK button.
That’s it - your autoresponder is ready to work.